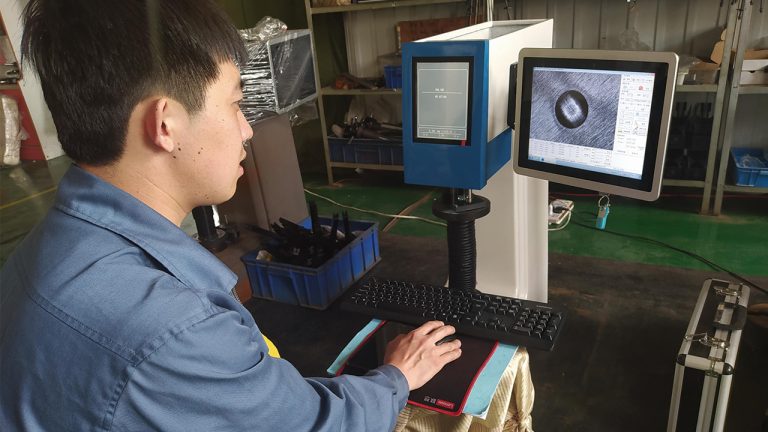
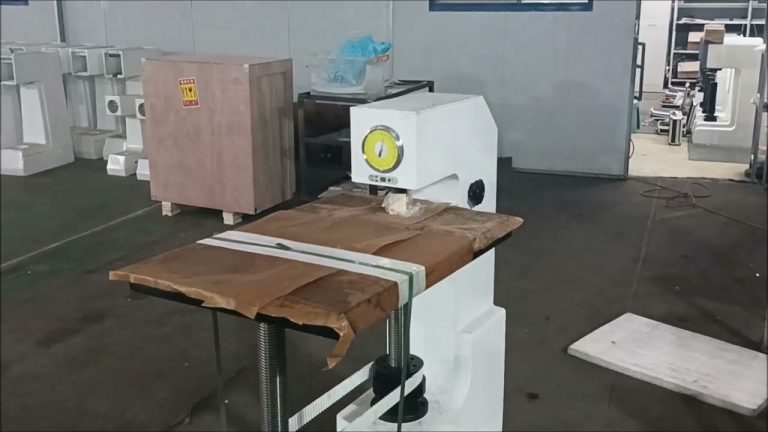
The principle of the rockwell hardness tester is based on measuring the indentation depth to determine the hardness of the material.
It applies the initial test force and the main test force successively. The role of the initial test force is to ensure good contact between the indenter and the specimen surface. Then the main test force is applied, and under the action of the main test force, the indenter penetrates a certain depth into the specimen surface.
After removing the main test force and retaining the initial test force, the indentation depth left by the indenter on the specimen surface is measured at this time. The deeper the indentation, the softer the material and the lower the hardness value; the shallower the indentation, the harder the material and the higher the hardness value.
The hardness value is obtained through specific calculation formulas. Different scales (such as HRA, HRB, HRC, etc.) correspond to different indenters, test forces and calculation formulas.
For example, the HRC scale uses a diamond cone indenter with a total test force of 150 kgf. The hardness value is calculated by measuring the indentation depth and substituting it into the corresponding formula. It is often used to measure materials with higher hardness, such as quenched steel and tempered steel.
The HRB scale uses a steel ball indenter with a diameter of 1.588 mm and a total test force of 100 kgf. It is suitable for measuring materials with lower hardness, such as non-ferrous metals and annealed steel.
In conclusion, the principle of the Rockwell hardness tester is based on the relationship between the indentation depth and the hardness of the material, and the accurate measurement of the material hardness is achieved through standardized test forces and measurement methods.

